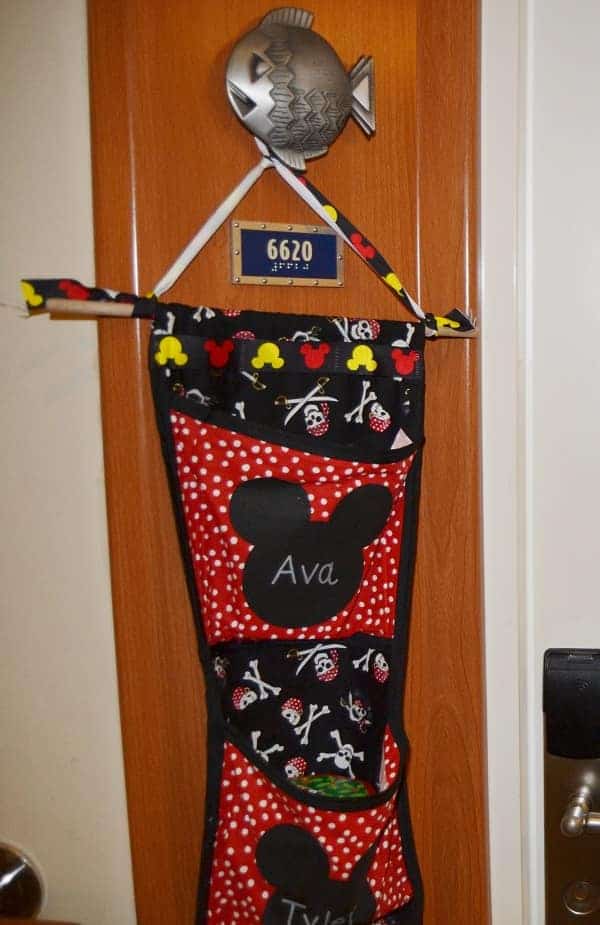
Those who have been on a Disney Cruise may have noticed that Disney cruisers enjoy decorating their stateroom doors. You will find elaborately decorated stateroom doors with Disney magnets and fish extenders. Want to learn how to make a Fish Extender?
We have made our own and want to share how easy of a sewing project it is!
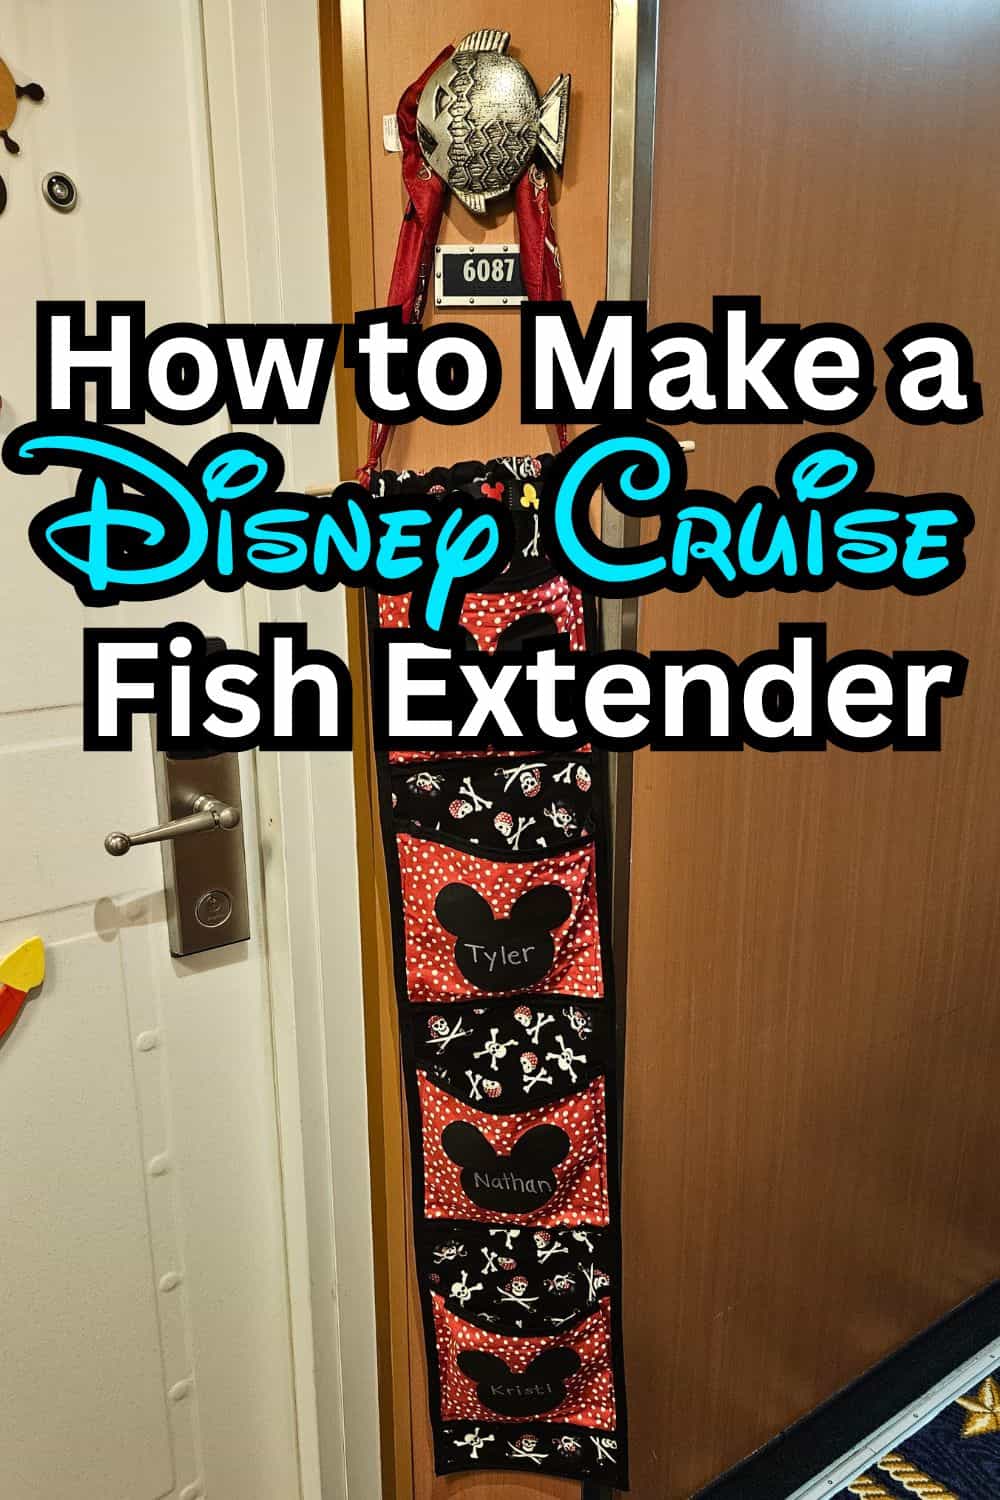

Disney Cruise Fish Extender Tutorial
I have a fairly simple tutorial for you to make your own Fish Extender for a Disney Cruise.
Materials for this fish extender were around $15 including fabric.
While they look complicated to make, all you really need to know how to do is make a straight stitch.
To put it into greater perspective, this was my first sewing experience EVER and I did it all by myself!
Let’s get you started!
What you Need to Make a Fish Extender
- 1/2 Yard of Base Fabric (Jolly Roger Skull Fabric)
- 1/4 Yard of Coordinating Fabric (Red Polka dot Fabric)
- Dowel Rod (10-12″ long)
- 2 Packages of Bias Tape, Extra Wide, Double Fold
- Mickey Mouse Ear Iron On Appliques
- Fabric Markers
- Coordinating Ribbon
How to Make a Fish Extender for Your Disney Cruise
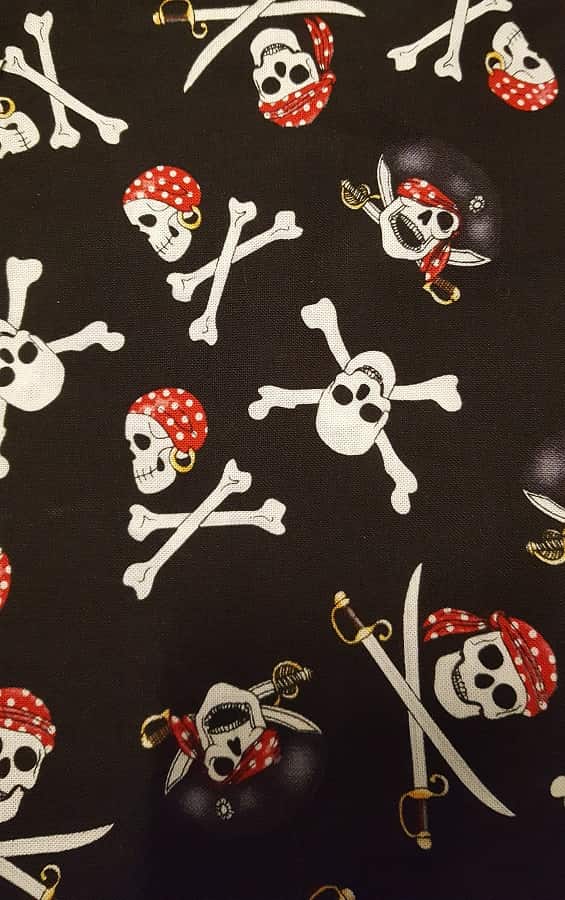

BASE FABRIC (We used this Skull Fabric)
Take your 1/2 Yard of Fabric & fold it over lengthwise. This will be the main part of your Fish Extender.
Iron it flat so that you have a clean crease along one side. This will be about 8 3/4-9 ” wide.
Your length will be dependent on how many pockets you plan on having on your Fish Extender.
Mine has 4 pockets, so I used the entire length of fabric.
After folding lengthwise, sew the open side closed (you may choose to turn it inside out so that the stitching is on the inside of the fabric).
If you don’t, no worries, your bias tape will cover your stitching.
Once sewn, put to the side. You will come back to this after you create your pockets.
POCKETS (We used a similar Red polka dot fabric)
Take out your coordinating fabric and divide it into 4 equal pieces measuring approx 8″ tall by 11″ wide. This will be the fabric for your pockets.
The first thing you will want to do is sew the bias tape along the top of each of your pockets (11″ side). Do NOT sew to the bottom.
Next, pin pockets along the edges of your base fabric. You will create pleats about 1/2″ or so at each side.
This is done by just tucking the fabric under on each side at about 1/2 “.
You will then iron them flat to create the pleats. The pleats are important because it gives you room to have goodies inserted into your pockets later on.

BIAS TAPE (We used black)
Once your pockets are pinned, you are ready to attach your Bias tape around the bottom of each pocket.
Pin as needed.
Use a straight stitch to connect the bias tape to the fish extender.
Now that your pockets are attached at the bottom, you are ready to finish it off by sewing your bias tape around the sides of the entire fish extender.
This will attach the sides of the pockets to the base fabric.
You can also add bias tape to the bottom of your fish extender if the pocket doesn’t hit the bottom.
Don’t sew the top yet!
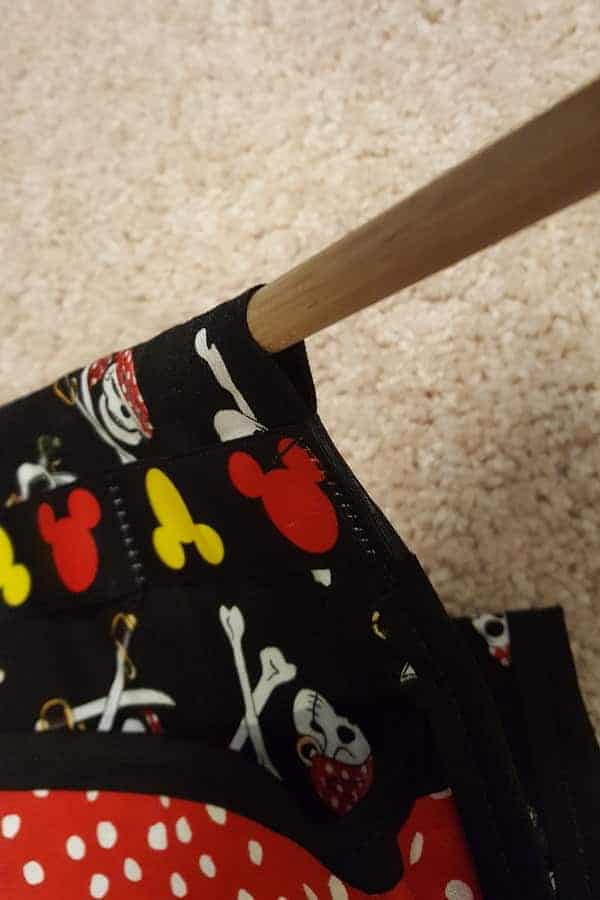

ROD HOLDER
Fold the top of the fabric over so that your dowel rod will fit.
Sew a straight stitch across to create a pocket for the rod.
I used a strip of Mickey Head Ribbon (also used it to tie onto a dowel rod) to give it a little extra Disney zing!
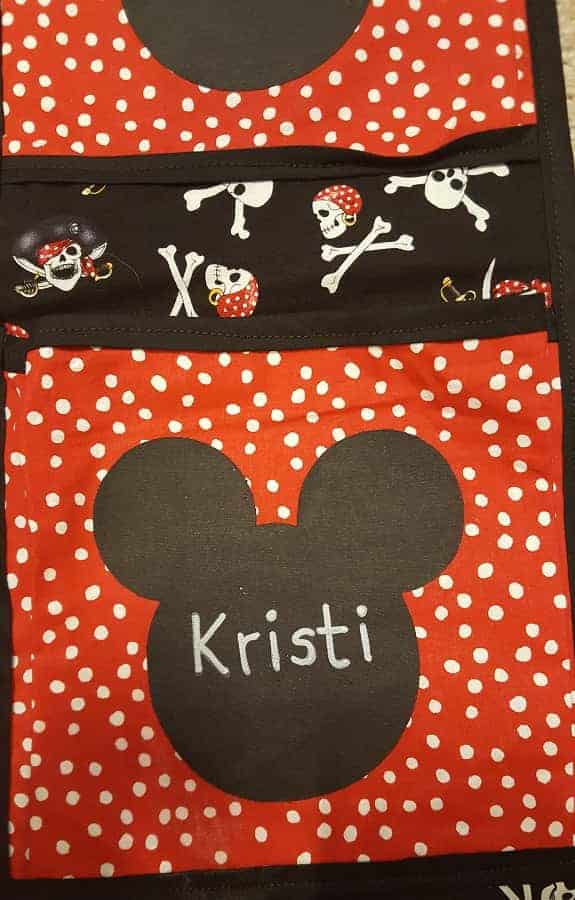
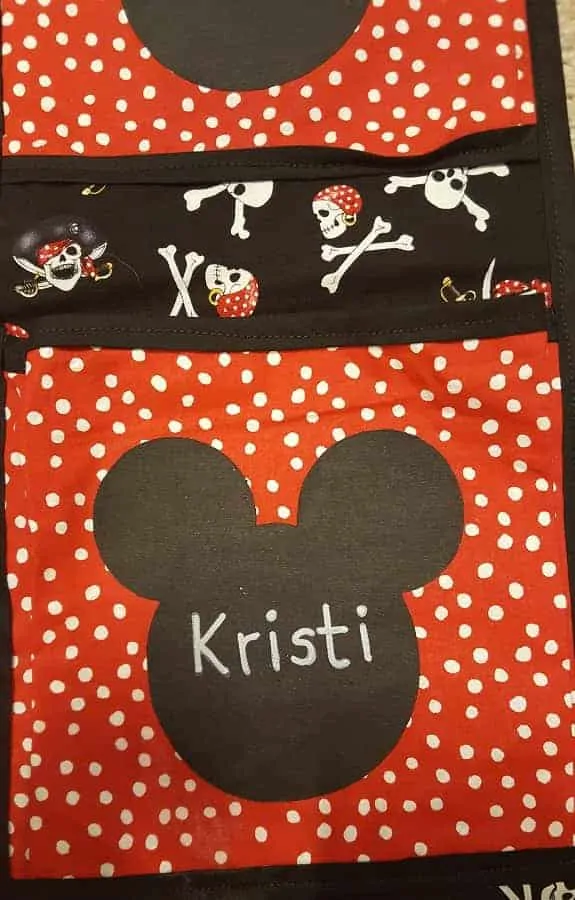
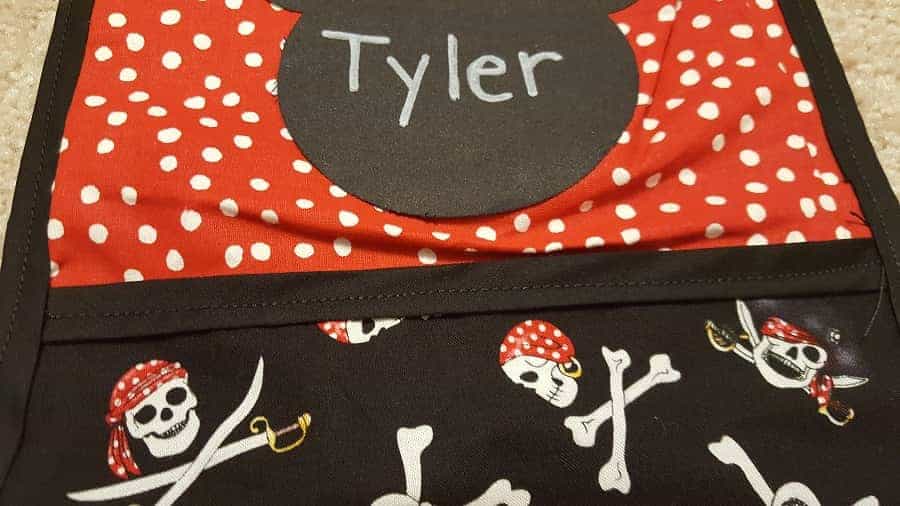
APPLIQUES
To finish off, we simply ironed on our Mickey appliques and wrote our names on them with fabric markers (you could probably use paint markers too).

I hope that this helped you learn how to make a fish extender!
If you used our directions and found them helpful or have a question, feel free to ask here or on Disney Insider Tips facebook page! As I stated, this was my first sewing experience, so I hope I did okay at explaining! Let me know how yours turns out!
Don’t have time to make a Disney Fish Extender?
There are a few you could buy….
Fish Extenders You Can Purchase on Etsy
Great ideas on types of Disney Cruise Fish Extenders you can purchase on line. Great rule of thumb is to make sure the one your purchase has one pocket for each person in your stateroom.
Jean Stinich
Friday 2nd of June 2023
very precise! thank you for sharing - I have the fabric I would like to use. Now I know how to put it together.... THANKS AGAIN!
YVETTE MALDONADO
Thursday 3rd of October 2019
Great idea and instructions! I don't have a sewing machine. Would you recommend hand sewing?
Kristi
Saturday 5th of October 2019
It might be a bit much to hand sew. You could try using hem adhesive that you iron on. It is a stretch, but it might just work!
Christy Baird
Monday 8th of January 2018
Thank you for the instructions! I found some great fabric at Walmart. I used the red dot fabric for my background, black Darth Vader fabric for 2 pockets and 2 Disney princess fabrics for the other two. We are going on a Star Wars Day at sea trip, 2 male, 2 female. I wish I could have found princess fabric with more red in it. I followed the instructions, they were easy. My only suggestion would be to sew the pockets on before sewing the bias tape on the pockets and sides. I missed the pockets several times and it was a bit tricky to resew without the stitching showing. Plus with the way some of the photos look from all the gifts in the pockets it can't hurt to reinforce them.... Thanks again!
Kristi
Monday 8th of January 2018
Awesome! I am so glad it helped! Enjoy your cruise.
Amy
Friday 22nd of July 2016
I am completely new to sewing. I found the fabric I want for the pockets, but they only offer two sizes...a yard or a fat quarter. Which should I get? Thanks!
Kristi
Tuesday 26th of July 2016
A fat quarter should be fine. It is usually 18"x22" which means you will have enough for 4 pockets or 4- 9x11 pieces. Just be sure to cut carefully as you will not have room for error.
Sheetal
Friday 24th of June 2016
Thank you for this post! I've never sewed in my life and I found my mom's old white L.S. Ayers sewing machine. Question on the pockets - after I do the folding to give extra room/give, what is the length and width? If I do 8×11, then only 3 fit. Thanks!